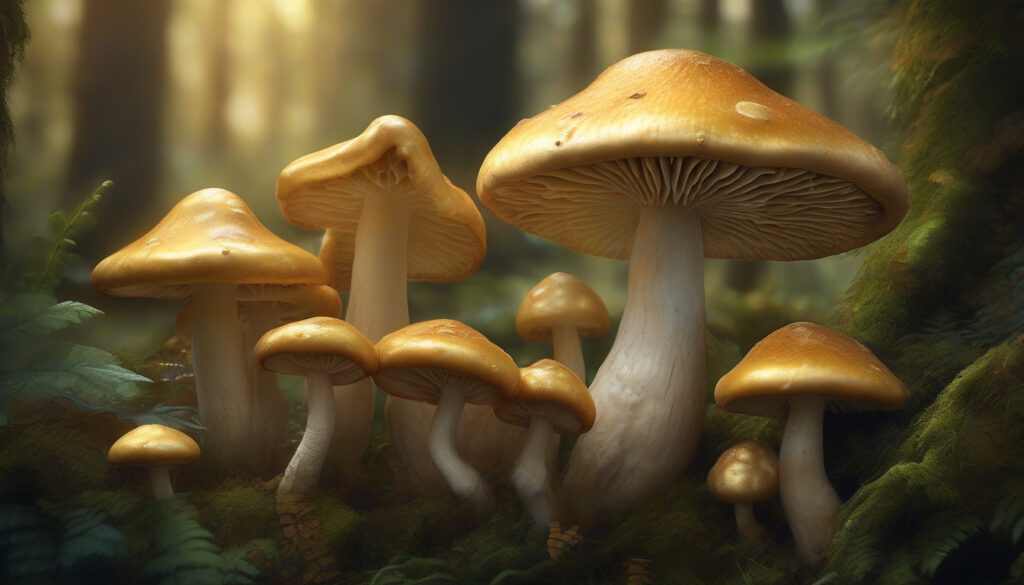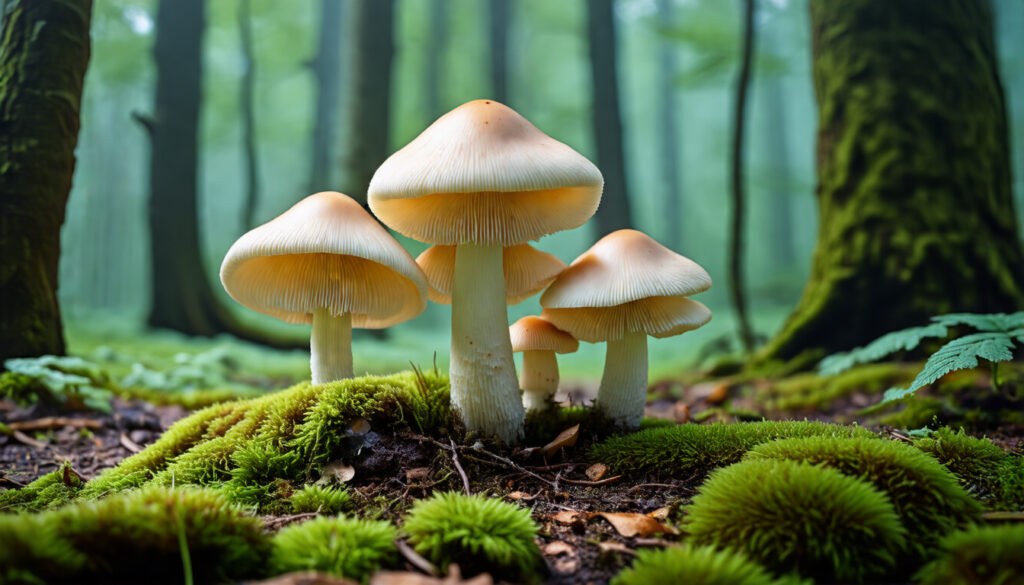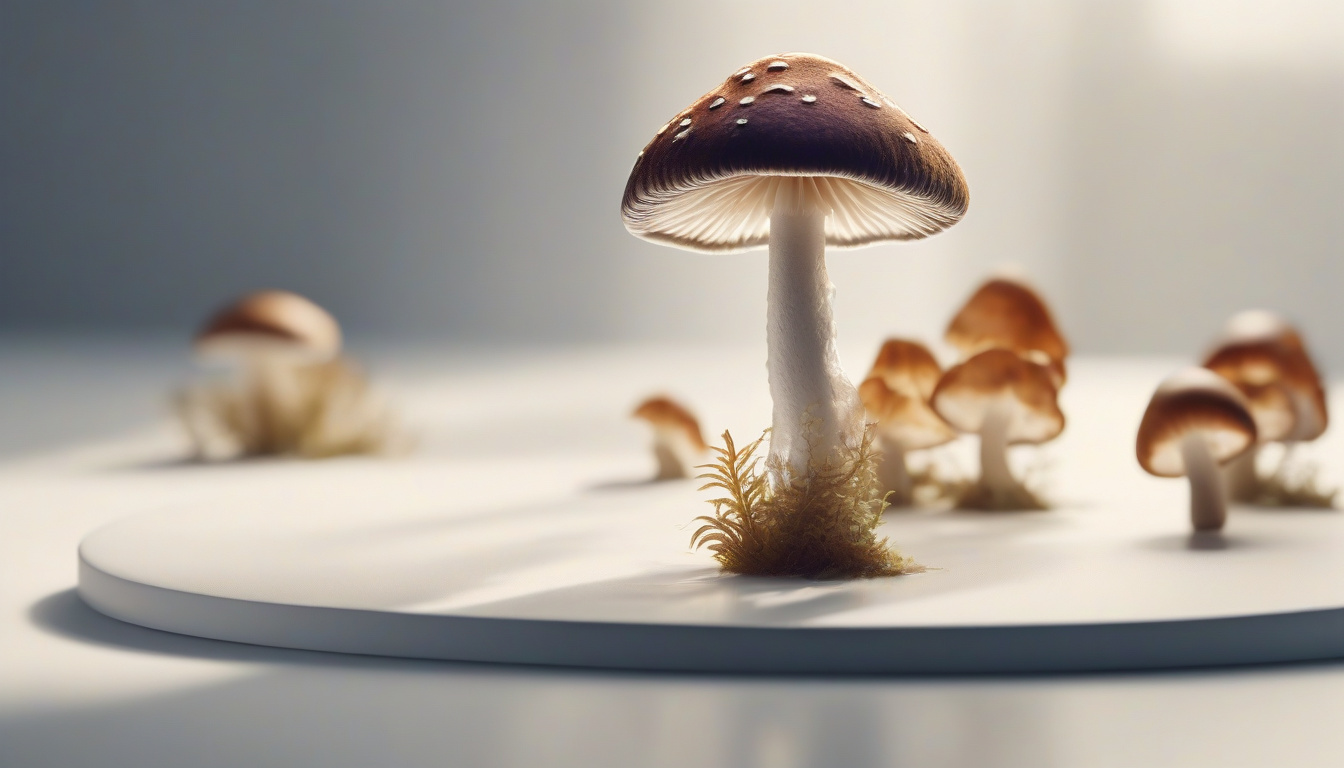
If you are into mushroom foraging or mycology, you need to learn how to make a spore print. A spore print is a simple step that helps you tell apart edible, toxic, or medicinal fungi. In this guide, we show you all you need to know to make a perfect spore print for mushroom identification. This way, you keep your work safe and clear.
Why Is a Spore Print Important?
A spore print gives key hints about a mushroom’s type. Many mushrooms look alike but their spore color can set them apart. A good print lets mushroom hunters and experts pick the correct type and avoid dangerous errors. Experts call spore print analysis one of the best ways to sort mushrooms. Whether you are new or skilled, learning how to make a neat spore print builds a strong base.
The Basics of Making a Spore Print
Making a spore print is not hard. You need a few tools and careful steps. Try this plan:
- Pick a mushroom with a strong cap.
- Set up a clean work area.
- Put the cap on a surface that shows the spores well.
- Let the spores drop.
- Look at the color and shape of the spores.
Next, we look at each step in detail.
Step-by-Step Guide to Preparing a Spore Print
1. Select the Right Mushroom
Pick a fresh mushroom. Its cap should be ripe but not old. Look for one without dirt or damage. This keeps your spore print clean.
2. Prepare Your Materials and Workspace
You will need:
- A clean sheet of white paper, black paper, or glass to show contrast
- A small piece of aluminum foil or a container to cover the cap (this step is optional)
- Tweezers or gloves if you handle a delicate mushroom
- A sharp knife or scalpel if you need to cut the mushroom
Keep your space clean to stop mold or other growth from affecting your print.
3. Cut and Place the Mushroom Cap
With a clean knife, cut the mushroom cap from the stem. Place the cap with the gills or pores facing down on your chosen surface. You may cover the cap lightly with a bowl or cup to keep it still.
4. Wait and Observe
Leave the cap undisturbed for 12 to 24 hours. In this time, the spores fall from the cap onto the surface. When you lift the cap, you see the pattern of spores. The pattern shows its color and form.
5. Analyze Your Spore Print
After the waiting time, lift the cap and see the print. Check:
- Color: Is it white, pink, purple, brown, or black?
- Pattern: Are the spores spread out or clumped in one area?
Take a picture for later use and compare it with trusted guides or online images to find the right species.

Tips for a Clearer and More Accurate Spore Print
Try these hints to get a better result:
- Use a background that makes the spores stand out. A white surface works best with dark spores, and a black surface works best with light spores.
- Use a fresh mushroom so you get a strong print.
- Keep your workspace dry. Wet air can start mold.
- If you are not sure, try the process more than once to be clear.
Common Types of Spore Prints and Their Significance
Here is a simple list of common spore print colors and their groups:
| Color | Common Mushrooms | Meaning |
|---|---|---|
| White | Amanita, some Agaricus | Many are edible; some need more checks |
| Pink | some Coprinellus, some Russula | Many are edible; some can be harmful |
| Brown | Boletes, many Agarics | Many are edible; a few can be harmful |
| Purple-Tinged | Leccinum, Pholiota | Points to a narrow group; warning to check well |
| Black or Dark | Inky caps, some Russula | Often signal toxins or non-edible types |
Use the spore color to narrow down your mushroom type.
Frequently Asked Questions About Spore Prints
Q1: How long does it take to make a spore print?
A: Wait 12 to 24 hours for the spores to fall onto the surface. Patience helps get a clear result.
Q2: Can I identify a mushroom with just its spore print?
A: The spore print color is key, but you should also check shape, size, habitat, and other features to be sure.
Q3: What if my spore print is weak or unclear?
A: Use a fresh mushroom, wait long enough, try a contrasting background, and cover the cap gently to improve the print.
More Resources and Safety Tips
Always check your mushroom findings with trusted field guides or an expert before eating any wild mushrooms. Some mushrooms are very dangerous, and mistakes can be fatal. When in doubt, avoid eating it.
For more help and clear images, visit the North American Mycological Association website at (https://www.namyco.org/).
Final Thoughts: Mastering the Art of a Perfect Spore Print
Learning to make a neat spore print is a strong skill for anyone who loves mushrooms. It helps you identify mushrooms correctly and teaches you more about fungi. With care and practice, you will create clear, reliable spore prints every time.
Start your journey in mycology today—happy searching! For more advice on mushroom identification and safe foraging, check our guides and join local clubs or online groups.
Ready to sharpen your mushroom ID skills? Try your spore print method today and dive into the world of fungi!

Yeti
4.9/5 (189 Reviews)
Treasure Coast Albino
4.9/5 (189 Reviews)
Tatandi Leucistic
4.9/5 (189 Reviews)
Sebu
4.9/5 (189 Reviews)
Red Boy
4.9/5 (189 Reviews)
Panaeolus Cyanescens Copelandia
4.9/5 (189 Reviews)
Moby Dick
4.9/5 (189 Reviews)
Mexicana
4.9/5 (189 Reviews)
Melmac Thrasher
4.9/5 (189 Reviews)
McKennai
4.9/5 (189 Reviews)